How to Use Tupe for Mastering
Since the official Tupe launch, we’ve gotten a lot of great questions about how to best use Tupe for mastering or mixbus work.
As the lead DSP engineer on Tupe and a sometimes mastering engineer, I have a lot of… thoughts — so let’s dive in!
First, some easy questions.
Q: A lot of the Tupe demos sound heavily processed & saturated, is Tupe suitable for more subtle mastering work?
A: Yes, absolutely! We try to make plugin demos very obvious so that it’s easy to hear what the plugin is doing if you’re just casually scrolling on a phone/laptop, and the demos generally use extreme Drive settings for maximum effect. And many of the demos are made by Goodhertz co-founder, Rob Stenson, who just can’t get enough saturation. (Seriously, we had to add entire sections of DSP and harden the algorithms in Tupe just to handle the extreme ways in which Rob was using it). Here’s a collection of Rob’s experiments during the development of Tupe:
Every processing section in Tupe can be dialed back to much more subtle territory, allowing a mastering engineer to start with a certain sonic signature and then incorporate as much or as little of that sound as desired. The fact that Tupe can handle such extreme Drive settings without breaking up or turning into digital garbage is a huge asset in mastering, where trusting your processing to be solid under pressure is critical.
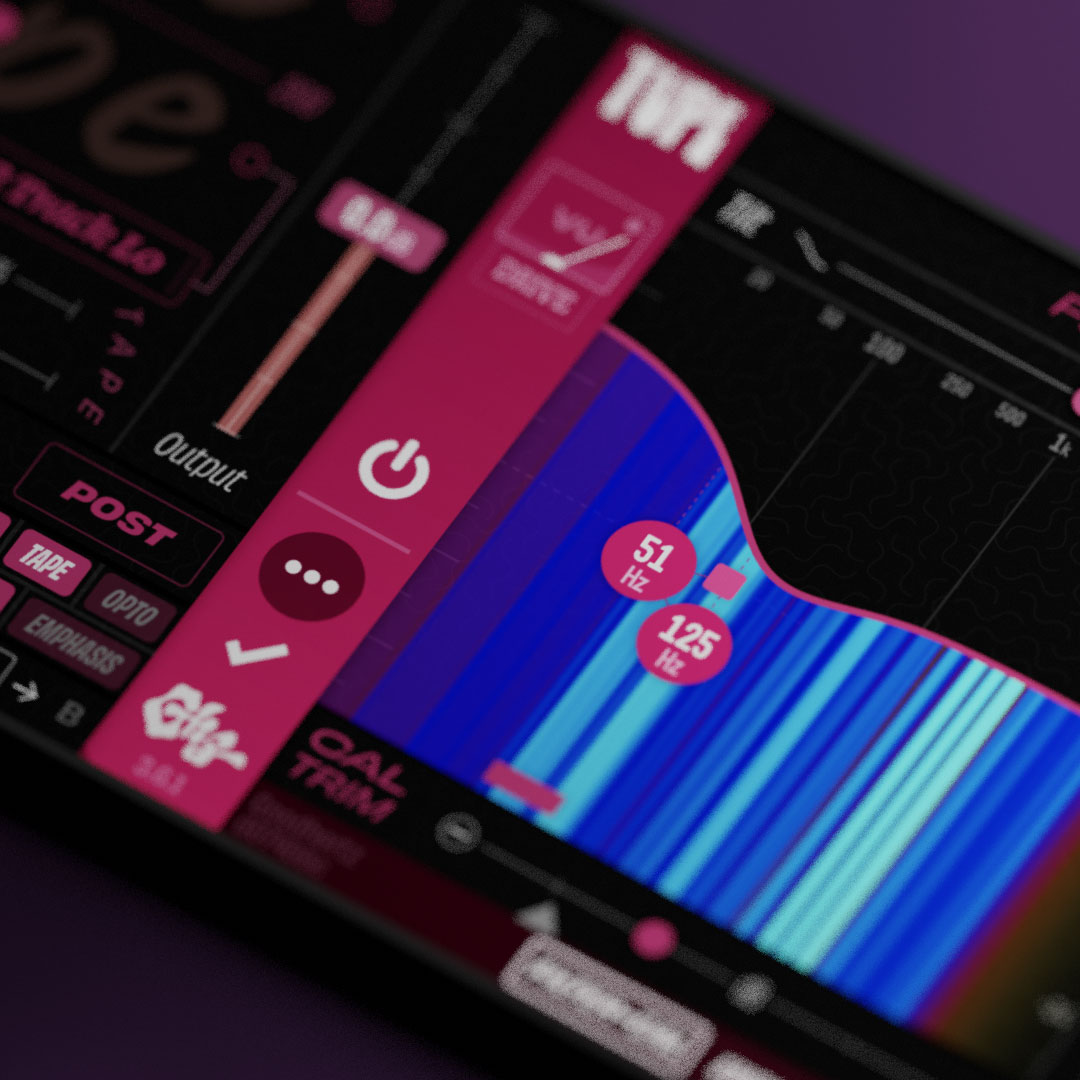
Although we’ve tried to make Tupe as simple as possible, the Emphasis section, Bias controls, advanced level matching, and super oversampling technology make it perfect for mastering work where precision control & automation is important.
Q: Why aren’t there mastering presets in Tupe?
A: We may add some mastering “starter” presets in the future, but with such a comprehensive plugin, I find it’s usually better to build a mastering chain from scratch and allow the track to dictate the direction in mastering. Something that worked for another track, even on the same album, might not work for the current track.
More than other mastering plugins I’ve used, Tupe funnels complexity in a nice way: it starts simple (which tube or tape should I use?), and gradually ramps up complexity from there (how should I tweak the emphasis filters? should I change the processing order? etc.), but only if you want it!
Q: What order should Tupe be in the mastering chain?
A: This completely depends on your mastering process and how you like to work; there are no wrong answers (except for dither, which must always be last in the mastering chain — even after sample rate conversion).
I generally end up using Tupe after compression & corrective EQ plugins and before any stereo field or mid/side processing and limiting (& dither). I often put sweetening EQ (usually linear phase shelving EQ in Tone Control) pre-Tupe as well, but it can sound nice post-Tupe too.
Here are my general steps for dialing in Tupe on a mastering session. This process is definitely not a straight line, and it’s common to iterate over the steps multiple times: starting with #1, moving to #2, returning to #1 to tweak some more, etc.
1. Tape
I start with the analog tape section first because it has the biggest impact on the overall frequency response of the track, which is very sensitive in mastering. I audition each analog tape mode and see what feels best for the track and the mood I’m going for (more info on the individual types here).
The tapes work GREAT for taming harshness and for making a master feel less cold and unforgiving. Obviously, sometimes this is not desirable, in which case I either turn off the tape section altogether or use a very low setting on the Tape Amount slider.
Using Tupe’s tape processing to tame harshness can also allow for addition high-frequency boosting in front of Tupe, which I use constantly as a sort of have-your-cake-and-eat-it-too trick for increased clarity, presence, and warmth in a master.
Tape Modes
I end up using 2 Track Hi the most because it’s versatile and can work with many different types of music/styles. It makes things sound bigger without being overly colored.
2 Track Lo is warmer and rounder, especially in the 100 Hz area.
I use the Cassette tapes the least for mastering, but sometimes they do sound awesome with a low Tape Amount or when you’re being asked for a more vintage/retro/lofi color.
As I’m auditioning Tapes, I’m toggling the Tape On/Off and experimenting with different Tape Amounts to see what works.
2. Tube
Next, I audition tubes based on what I think the track needs (more info on the analog tube types here). As with the Tape section, sometimes “no tube” is what the track needs.
Tube Modes
5751: I think of the 5751’s as fairly neutral, providing some nice harmonics & compression without overpowering a track. The 5751 Hi setting is bright and attack heavy in a nice way and can sound great feeding into the tape section.
6L6: I think of these as big & heavy. Lots of low end, and a little less mids than the 5751’s have. I reach for these when I’m trying to amp up excitement or make a track feel more intense. 6L6 Lo, which I use a ton, is especially generous to bass instruments, kick drums, etc. — it’s huge sounding and doesn’t rein in the low end, even when driven hot.
EL34: These tubes could almost be considered exciters. They’re excellent for generating lots of higher harmonics, air, and excitement.
12AX7: I think of this one as gritty, with a lot of crunch and growl.
3. Emphasis & Ordering
After I’m feeling good about the tube/tape selection, I spend a while dialing in the exact amounts of the tube/tape and, if needed, tweaking the emphasis filter to emphasize or de-emphasize certain elements of the mix in the harmonics.
The tube/tape processing order (the ⮕ button between the modes) can impact the sound in some important ways as well: generally, tube ⮕ tape has a warmer sound, whereas tape ⮕ tube has a brighter, more vibrant sound.
4. EQ
Tupe has a wonderfully musical EQ that works well for mastering. The shelving filters sound great, and with the variable resonance controls, it’s easy to dial in the shelving transition to do exactly what you want without needing to add multiple control points in a parametric EQ.
I recommend changing the Filter Scale to the lower setting for increased display resolution (click anywhere along the right side of the Ladder Filter graph).
I don’t always use Tupe’s EQ for mastering, but when I do, it’s normally in a situation where I might have used a Massive Passive, SPL Passeq, or Pultec before.
5. Opto Comp
Sometimes if I know I want to use Tupe’s opto compressor, I dial it in before step #1, pre-tube/tape. If I feel like the track needs a little more glue, though, I’ll sometimes add Tupe’s opto compressor post-tube/tape, always in the Comp mode. For an aggressive sound, you could also try the opto limiter, which can also be dialed back with the Opto Amount or Master Mix slider.
6. Noise (rare)
Some mastering engineers might scoff at adding any noise in the mastering phase, but sometimes recordings feel a bit off with pure digital silence punctuating every note or phrase. Though it’s rare, a little noise can go a long way toward giving a master a less “lonely” feeling.
7. Global Mix
Once I’ve dialed in all the individual Tupe sections, I often pull back the Tupe’s Master Mix. Generally, I do this in situations where I like what the plugin is doing overall but just want slightly less of it.
The Master Mix control in Tupe is NOT a true analog mix (which would cause phasing & other issues) and is also NOT equivalent to just scaling down the Tube/Tape/Opto Amount sliders. Instead, it behaves more like a “perfect” analog mix — blending in Tupe’s processing perfectly with the dry signal.
Tupe on the 2-bus!
Here are a few tracks that I’ve mastered that use Tupe in the mastering chain along with the tube/tape modes that were used. Click the “Get Tupe Setting” link to get the exact setting used in the session.
You may notice that none of these use the Emphasis section, but that’s because it hadn’t be developed yet at the time these were mastered!
Shame Is a River
EL34 Lo | 2 Track Lo | Get Tupe Setting
Tightrope
6L6 Lo | 2 Track Hi | Get Tupe Setting
stream of silllver
6L6 Lo | C90 Hi | Get Tupe Setting
I also used an additional Tupe instance automated up during the solo section beginning at 3:32 for a little more drama and to accentuate the mood shift in the composition / arrangement.
C90 Hi | EL34 | Get Solo / Bridge Setting
Music Is Sweet
12AX7 | 2 Track Hi | Get Tupe Setting
For the Change
2 Track Lo | Get Tupe Setting